Kaetemi

To content | To menu | To search

Thursday 2 December 2010

I have an Arduino

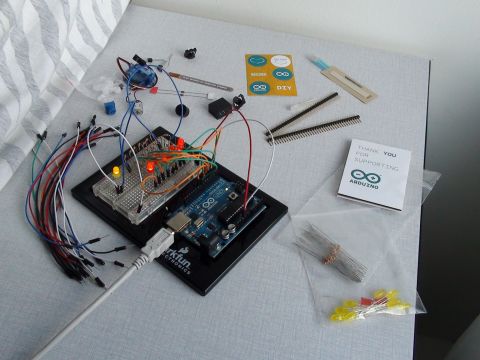
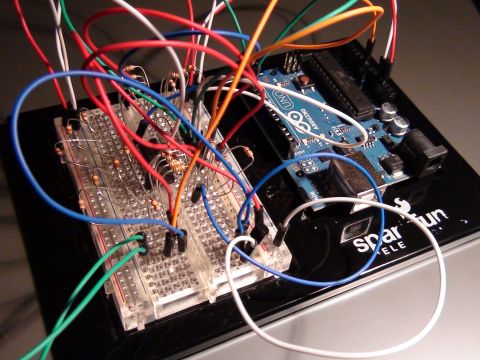
So, I recently bought an Arduino. It's a programmable microcontroller board for prototyping circuits. I got one of Sparkfun's kits, which has some random cool stuff in it as well, such as a bend sensor, a fancy soft slider, and LEDs.

The circuit in the above picture is a digital-to-analog converter, more specifically an R-2R DAC, with some LEDs plugged into it. There is PWM output available on the Arduino, but it didn't seem to run at a high enough rate for getting some sound out of it. I rebuilt this with the serial-to-parallel IC that also came with the kit, 10kOhm resistors, and a transistor. There were just enough resistors in the kit.

The green wires go to a speaker. Near the green wires is an orange wire that goes to an analog input of the Arduino, which is used at setup to map the actual voltage at that point to all the possible digital values, because the transistor isn't very linear in it's input/output relation. Works good enough.

Ordered a few hundred more resistors, a bunch of ICs, and some more things, to try out some more stuff.
Thursday 25 November 2010

Message from the future

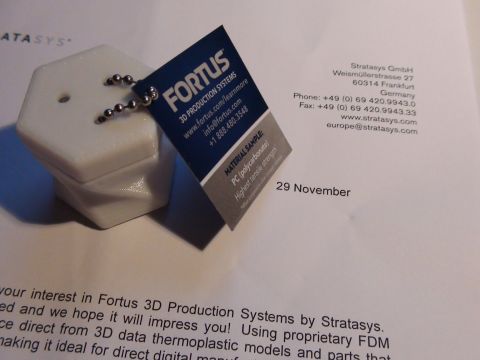
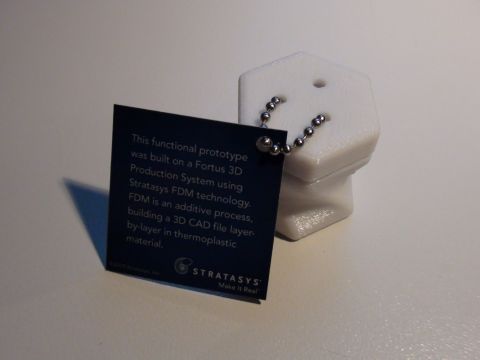
So, last week I received a package that's dated next week. It contained a sample part from Stratasys printed on a Fortus machine. Looks pretty good and feels very strong as well.

fortus_letter.jpg fortus_back.jpg


"Stratasys Fortus Polycarbonate Material" sample part (3D Printing)

Tuesday 23 November 2010

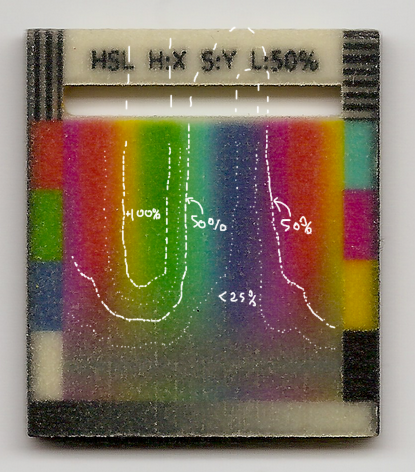
Full Color 3D Print Color Palette

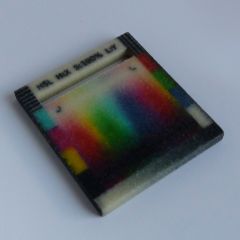
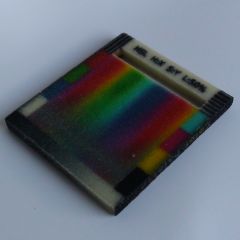
One problem with printing stuff in color using typical CMYK printing ink, is that it's often difficult to get the exact color you want. This color palette shows the color and grayscale range of the fullcolor prints offered by Shapeways. It contains a full hue gradient, to black, to gray and to white, as well as a black to white gradient, and the different base colors seperately. By scanning this color palette, and scanning another color on the same scanner settings, it should be possible to match the right color. The data available on the color palette should be enough to write a small piece of software that interpolates the entire color space in the print, and then get the required on-screen RGB for printing a specific scanned color in this material, which is something I'll work on in the near future.

colp_front.jpg colp_back.jpg

One thing that is somewhat noticable, is the slight yellowish-ness of the white color. Plotting the hue values on the hue side a bit, shows how yellow/green is very saturated, while inversely the printed cyan is not as saturated as the original onscreen cyan. Note that this plot is heavily dependent on scanner type and settings, so observations may vary.

colorpalettehueplot.png

If you want to see for yourself what the colors look like, you can get one too.

Personalized 3D Printed Keychain

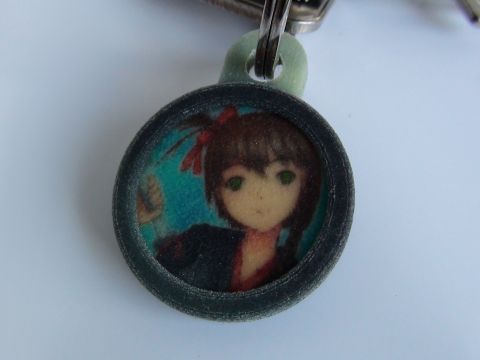
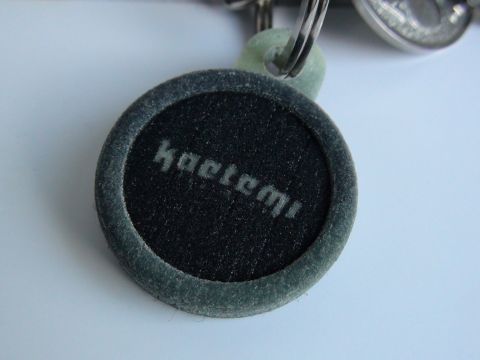
I did some revisions to the 3d printed keychain, which I previously used to make the video with the hammer.

Received the new 3d print in the mail last week, and put it on the ring with my keys. At the time of writing this, it's still intact, with only some minor scratches that you'd normally have on any plastic keychain.

pkc_front.jpg pkc_back.jpg

You can order one over at Shapeways for yourself, with picture and inscription of choice, doesn't cost much and shipping is included.

Monday 25 October 2010

Hana Figurine 3D Print

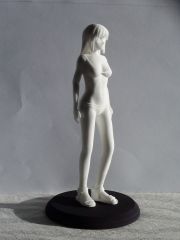
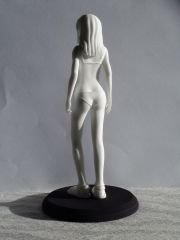
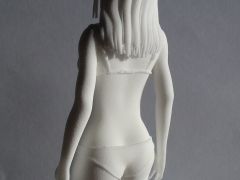
The 3d print arrived! Here are some pictures of the figurine, which has a height of about 17cm by the way:

DSC00829.JPG DSC00833.JPG

You can order your own copy of this print over at Shapeways now, http://www.shapeways.com/model/164604/figurine__hana___17cm_.html.

Sunday 24 October 2010

Watercoloring Shapeways' White Strong & Flexible

Coloring test on Shapeways' White Strong & Flexible 3D printing material, using Winsor & Newton watercolors and Letraset ProMarkers. With watercolors it is possible to make soft gradients between colors, as well as sharp edges. Markers blend slightly, giving softer edges, and can be used to make gradients as well, similar to how they react on paper. Watercolors can be washed out of the printed object almost entirely using water, marker colors don't change at all under water.


"Watercoloring Shapeways' White Strong & Flexible" using watercolors (3D Printing)

Wednesday 20 October 2010

Shapeways' Full Color 'Sandstone' Strength Test

Here's the video where I fail to break the thing in two by hand, and therefore resort to a hammer. Spoiler: the printed thing does not survive. Printed by Shapeways in the material they call Full Color Sandstone. The color is printed 1mm deep, and at 3mm thickness it's quite strong enough for normal handling.


"Shapeways' Full Color 'Sandstone' Strength Test" with a Hammer (3D Printing)

Friday 24 September 2010

3D print samples from Shapeways

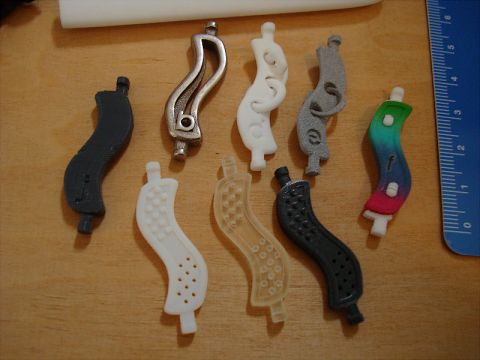
Got some nice 3d print samples from Shapeways.

Shapeways Samples

Sunday 12 September 2010

Tuna-kun

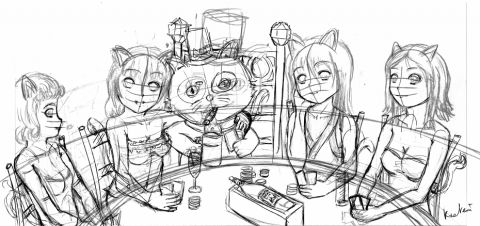
Tuna-kun Sketch

http://twitter.com/Kun_Tuna/status/17105643333
@kaetemi Ik wil ook een tekening nyahdesu, graag iets met catgirls, games en drank ohoho! Mijn artiest tekent liever meiden. T_T #Tsunacon

Sketch of Tsunacon mascot Tuna-kun.

Friday 27 August 2010

A 3d color test print

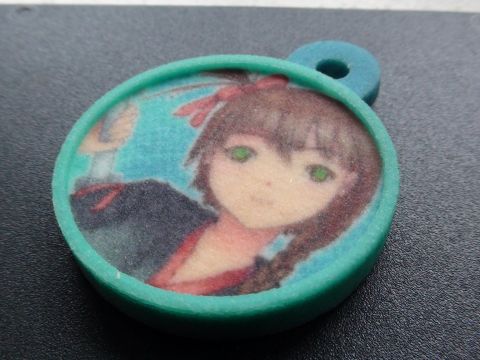
To try out the 'Full Color Sandstone' material at Shapeways, I ordered a print for a simple but obviously colorful test piece.

The material kind of feels like a small rough piece of delicate wood to me.
Physical detail seems to be pretty good, but I get the impression that the 1024px (about 850dpi) color texture I included got downsampled to around 128px (about 100dpi) or something, because there are visible loose pixels where there are supposed to be thin lines.

The circle is 3cm diameter with 3mm thickness, the small border on the side is 1mm.

Here's a picture of the top side:
Color Top

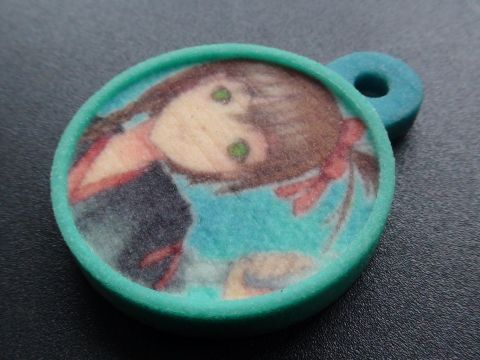
And here's one of the bottom side:
Color Bottom

As you can see, if you compare them closely, the bottom side shows printing lines, while the top side surface is perfectly flat.

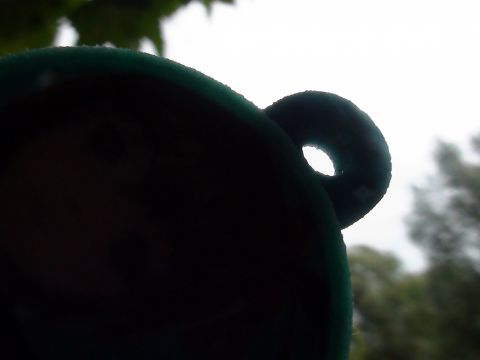
Also, here's a picture with backlight, showing some slight transparency on the thin border:
Color Backlight

An interesting effect of this bit of transparency, is that you have some minimal subsurface scattering in the lighting of the object.

To get around the downsampling issue, I think the safest choice would be to disconnect the texture UVs completely whereever you need to texture a sharp shape in your object, so that the colored shape is polygon based and not bitmap based, and only really use the texture space for soft color detail.

The color quality remains quite close to the original texture colors, but is slightly more yellowish for some colors.

When dropping the object on the ground, only from the 1mm border break off small pieces, the 3mm seems to be strong enough to survive that.

- page 3 of 6 -